To hook up a device
The following are the generic steps followed to hookup a
device using the
![]() (Device Hookup) tool for both HVAC and Plumbing:
(Device Hookup) tool for both HVAC and Plumbing:
- Determine the Type of connection.
- Enter a value to limit the amount of flex (if the connection type is flexible).
- By default, the Item option is defined by the Type of connection selected.
- Set the desired Angle from the set of standard angles.
-
By default, the
Freeform Path option is enabled.
It enables the Single Line and allows you to move the main branch line and position it within the main duct range and beyond (if open-ended).
- Enable the Invert Path option to connect to other side of the device in the hookup.
- For Calculated Path , select the main device and component placed. Switch between the Solution option to get the closest route. Accept/Reject to make a connection.
-
For
Group option, select a set of terminal devices
(Diffusers or Sprinklers).
- Click Device Hookup on the ribbon. Enable the Group checkbox on the ribbon.
- Select the duct/pipe from which the branch connection is needed.
- Left-click to accept and get the 3D branch lines or right-click to reject.
- If the Group checkbox is disabled it will directly make the connection and no single line will appear.
-
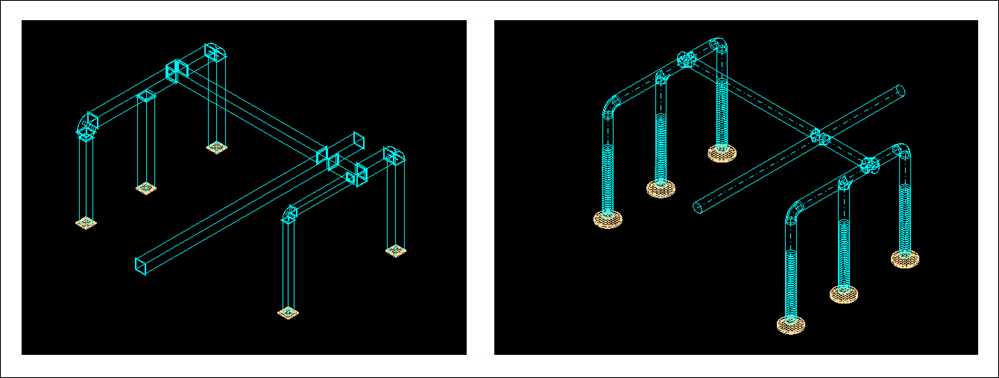
The following figure illustrates an example of Type Connection for Rectangular duct and Round duct using Group Option.
-
The following figure illustrates an example of Flexible Connection for Rectangular duct with Diffusers of different shape and size using Group option.
-
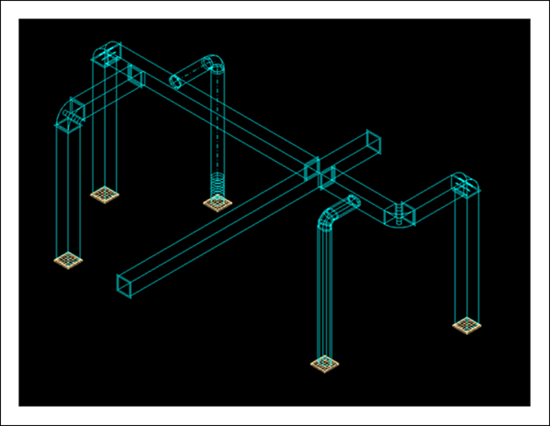
The selected Branch Category from the HVAC Autofitting Preferences dialog is applied to the elements in the hook up connection. The following is an example of HVAC Autofitting Preference (Branch Category - Tee) for Rectangular Duct using Group Option.
-
The following figure illustrates an example of Pipe with Group Option.
-
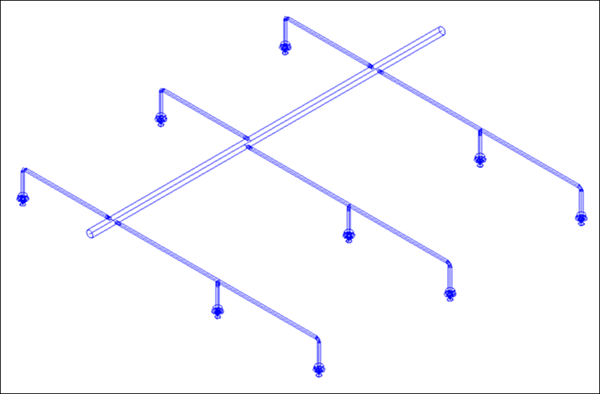
The following figure illustrates an example of multiselect without Group option.